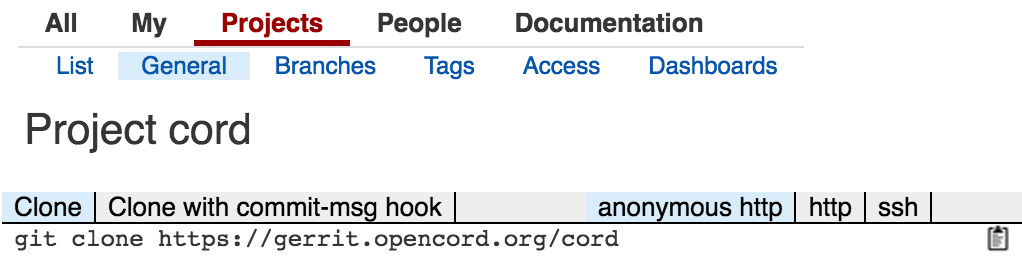
The CORD source code is available from our Gerrit system at gerrit.opencord.org. Setting up a Gerrit account and ssh access will also enable you to submit your own changes to CORD and review and comment on changes from others.
Repositories
CORD is comprised of a number of different codebases, each of which is stored in a separate git repository.
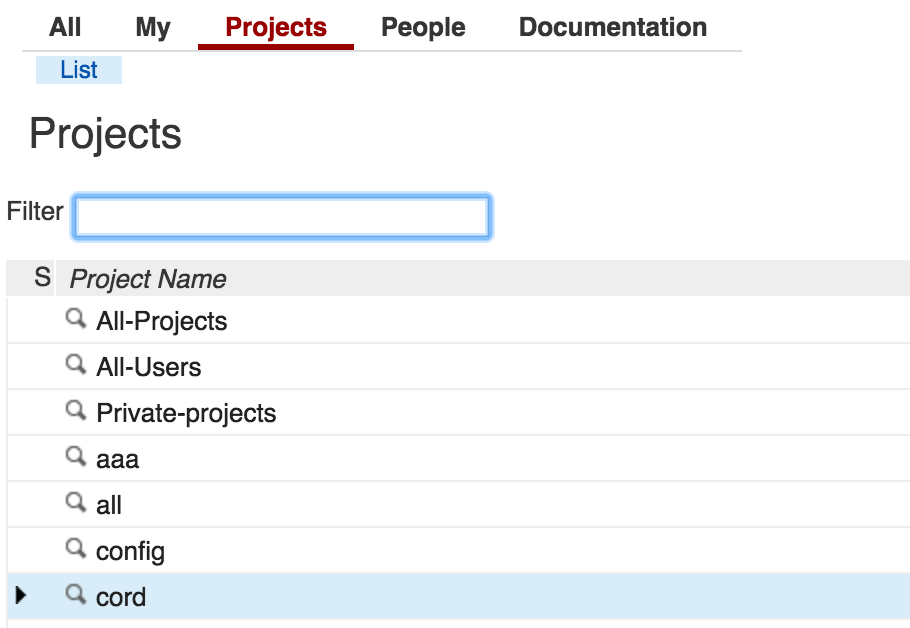
You can view the list of repositories in CORD by clicking Projects > List in the Gerrit UI:
Since CORD consists of 40+ repositories and changes can easily span multiple repositories, we use the repo tool to help us manage this complexity.
Installing Google repo
All the information about 'repo' can be found:
To install 'repo' you can simply run:
$ cd /usr/bin
$ sudo wget https://storage.googleapis.com/git-repo-downloads/repo
$ sudo chmod a+x /usr/bin/repo
At this point you should be able to list all the repo commands using:
$ repo help
The following includes examples for the most common operations you'll need to perform on the codebase.
Read-only Access to the CORD Source Code
Create a folder to store the CORD codebase:
$ cd ~
$ mkdir cord && cd cord
Make sure you've installed repo, and then create a local clone of the repository tree:
$ repo init -u https://gerrit.opencord.org/manifest
Get a released version
To get a released version of CORD, you can init the repo tree with a specific branch using the "-b" flag, for example:
repo init -u https://gerrit.opencord.org/manifest -b cord-3.0
And get the code:
repo sync
Read+Write Access for Developers
Configuring Gerrit
Ensure your username is correctly configured in Settings->Profile->Username; the Username is not populated for new accounts by default.
Prospective contributors should configure their account to receive notifications about their code submissions. The Settings page is accessed from the user dropdown on the upper right of the page:

To configure contacts by going to Contact Information, and filling out the fields, and hitting Save Changes :

To subscribe to a project, in order to receive notifications, go to Watched Projects and enter project-name the Project Name field of the page. Hitting return should add project-name to a table under the search field:

Uploading SSH Public Keys
An SSH key should also be uploaded to your account on the CORD Gerrit server.
Generate a key. If you don't already have public-private key pair, you can generate one with this command. This will generate id_rsa and id_rsa.pub file in ~/.ssh:
$ ssh-keygen -t rsa
Generating public/private rsa key pair.
Enter file in which to save the key (/home/onosuser/.ssh/id_rsa):
Enter passphrase (empty for no passphrase):
Enter same passphrase again:
Your identification has been saved in /home/onosuser/.ssh/id_rsa.
Your public key has been saved in /home/onosuser/.ssh/id_rsa.pub.

...
$ ls ~/.ssh
id_rsa  id_rsa.pub  known_hosts
- Upload the SSH public key. After logging in to your Gerrit account, go to Settings > SSH Public Keys. Paste the contents of id_rsa.pub into the "Add SSH Public Key" box and hit Add:

It's possible to add multiple SSH keys if you need.
Configuring git
Before you make a commit with git, you'll need to tell git who you are so you will be properly acknowledged as the author of your commits.
git config --global user.name "firstname lastname"
git config --global user.email "email@domain.com"
Edit your ~/.gitconfig file to add the following:
[review "https://gerrit.opencord.org/"]
    username = yourGerritUsername
Working with the Code
And then create a new branch. Most likely you'll need to start the same topic branch on multiple repos, to do that you can:
repo start [branch-name] [project project]
For example to create a topic named "my-topic" in "xos" and "service-profile" repos, you can use:
repo start my-topic xos service-profile
Then you'll have to commit your changes using the normal "git commit" command, for example:
$ git add <path_to_file>
$ git commit -m "[CORD-8492] My commit message"
Note that is good practice to reference a JIRA Issue Number in your commit message.
If you need to add changes to your Change, that means in other words to add a Patch Set, you can amend your commit, executing:
$ git add <path_to_file>
$ git commit --amend
Alternatively, or if you've created multiple commits on a branch, you can run git rebase -i and interactively squash all commits into one. Make sure that only the first Change-ID: I.... is in the final commit, so that it tracks properly in gerrit and doesn't create multiple changesets.
Submit a Gerrit Review
Once you're done coding and your changes are committed in their own repo, you can upload all of them at once using:
repo upload
You will then be prompted to upload a changset, or dropped into an editor to select which changesets to upload (by uncommenting them). Reviewers will be added to your changeset if you have modified files in the changeset that were created or modified by those people previously.
There are a few optional but handy flags on the repo upload command:
-d: mark changeset as "draft", which will hide your changeset from the public site and prevent Jenkins validation jobs from running on it-t: Set the topic in Gerrit to the same topic used when creating the patch withrepo start <topic_name>
Checkout a Gerrit Review
You can download reviews from Gerrit using:
repo download [project change[/patchset]]
For example to download the change 1134 and the patchset number 3 for the project "xos", you can use:
repo download xos 1134/3
Bringing in the Latest Changes
Sometimes you'll be working on a change and want to update your feature branch to bring in the latest changes that have been submitted since you created your feature branch. Sometimes the code in master will change in such a way that your changes can't be merged cleanly, so you need to manually resolve the differences. Or, you may simply need to use new APIs or features.
Pull the latest changes into your local master branch
First make sure that any changes you've made are checked in to your feature branch, either by amending a previous commit or making a new commit if you haven't yet made one.
Then you can switch to your master branch and pull the latest changes:
$ repo sync |
Rebase your feature branch on the latest master
Now you can switch back to your feature branch and rebase it on the master branch which now contains the latest changes:
$ repo rebase |
The rebase command will open an editor, which will show you a list of the commits that are in your feature branch but not in master. You can save and exit the editor to perform the rebase. If your changes cannot be rebased cleanly, git will inform you and you will have to fix the merge conflicts. You can use git status to see which files are in merge conflict. Once the conflicts are resolved, use git add to add the files and then git rebase --continue to finish the rebase.